What is Off-Camera Flash: A Beginner’s Guide for Creative Portraits
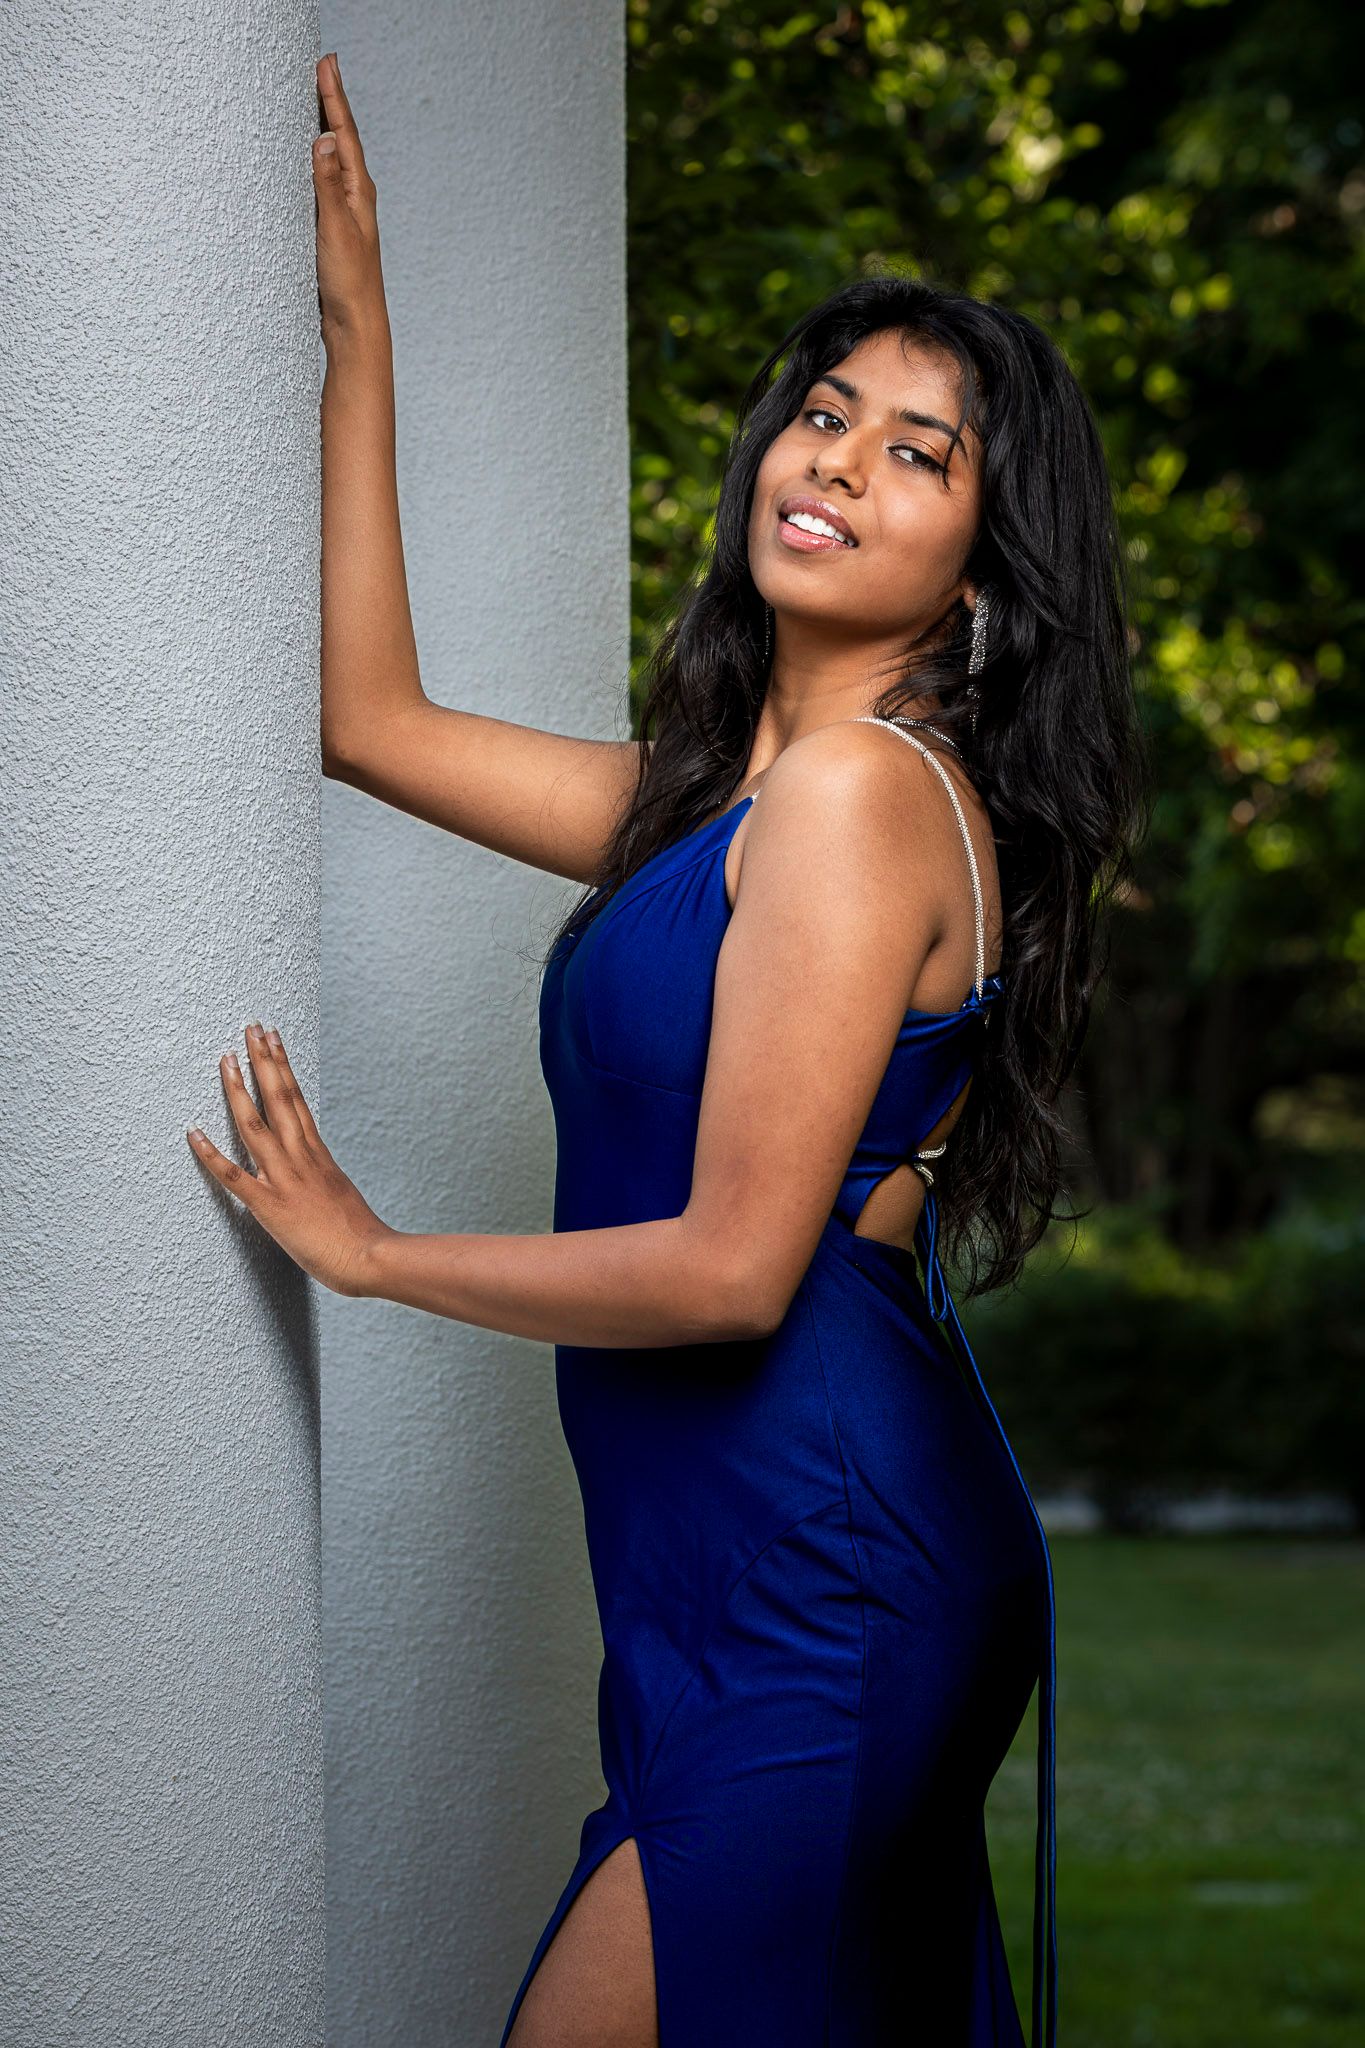
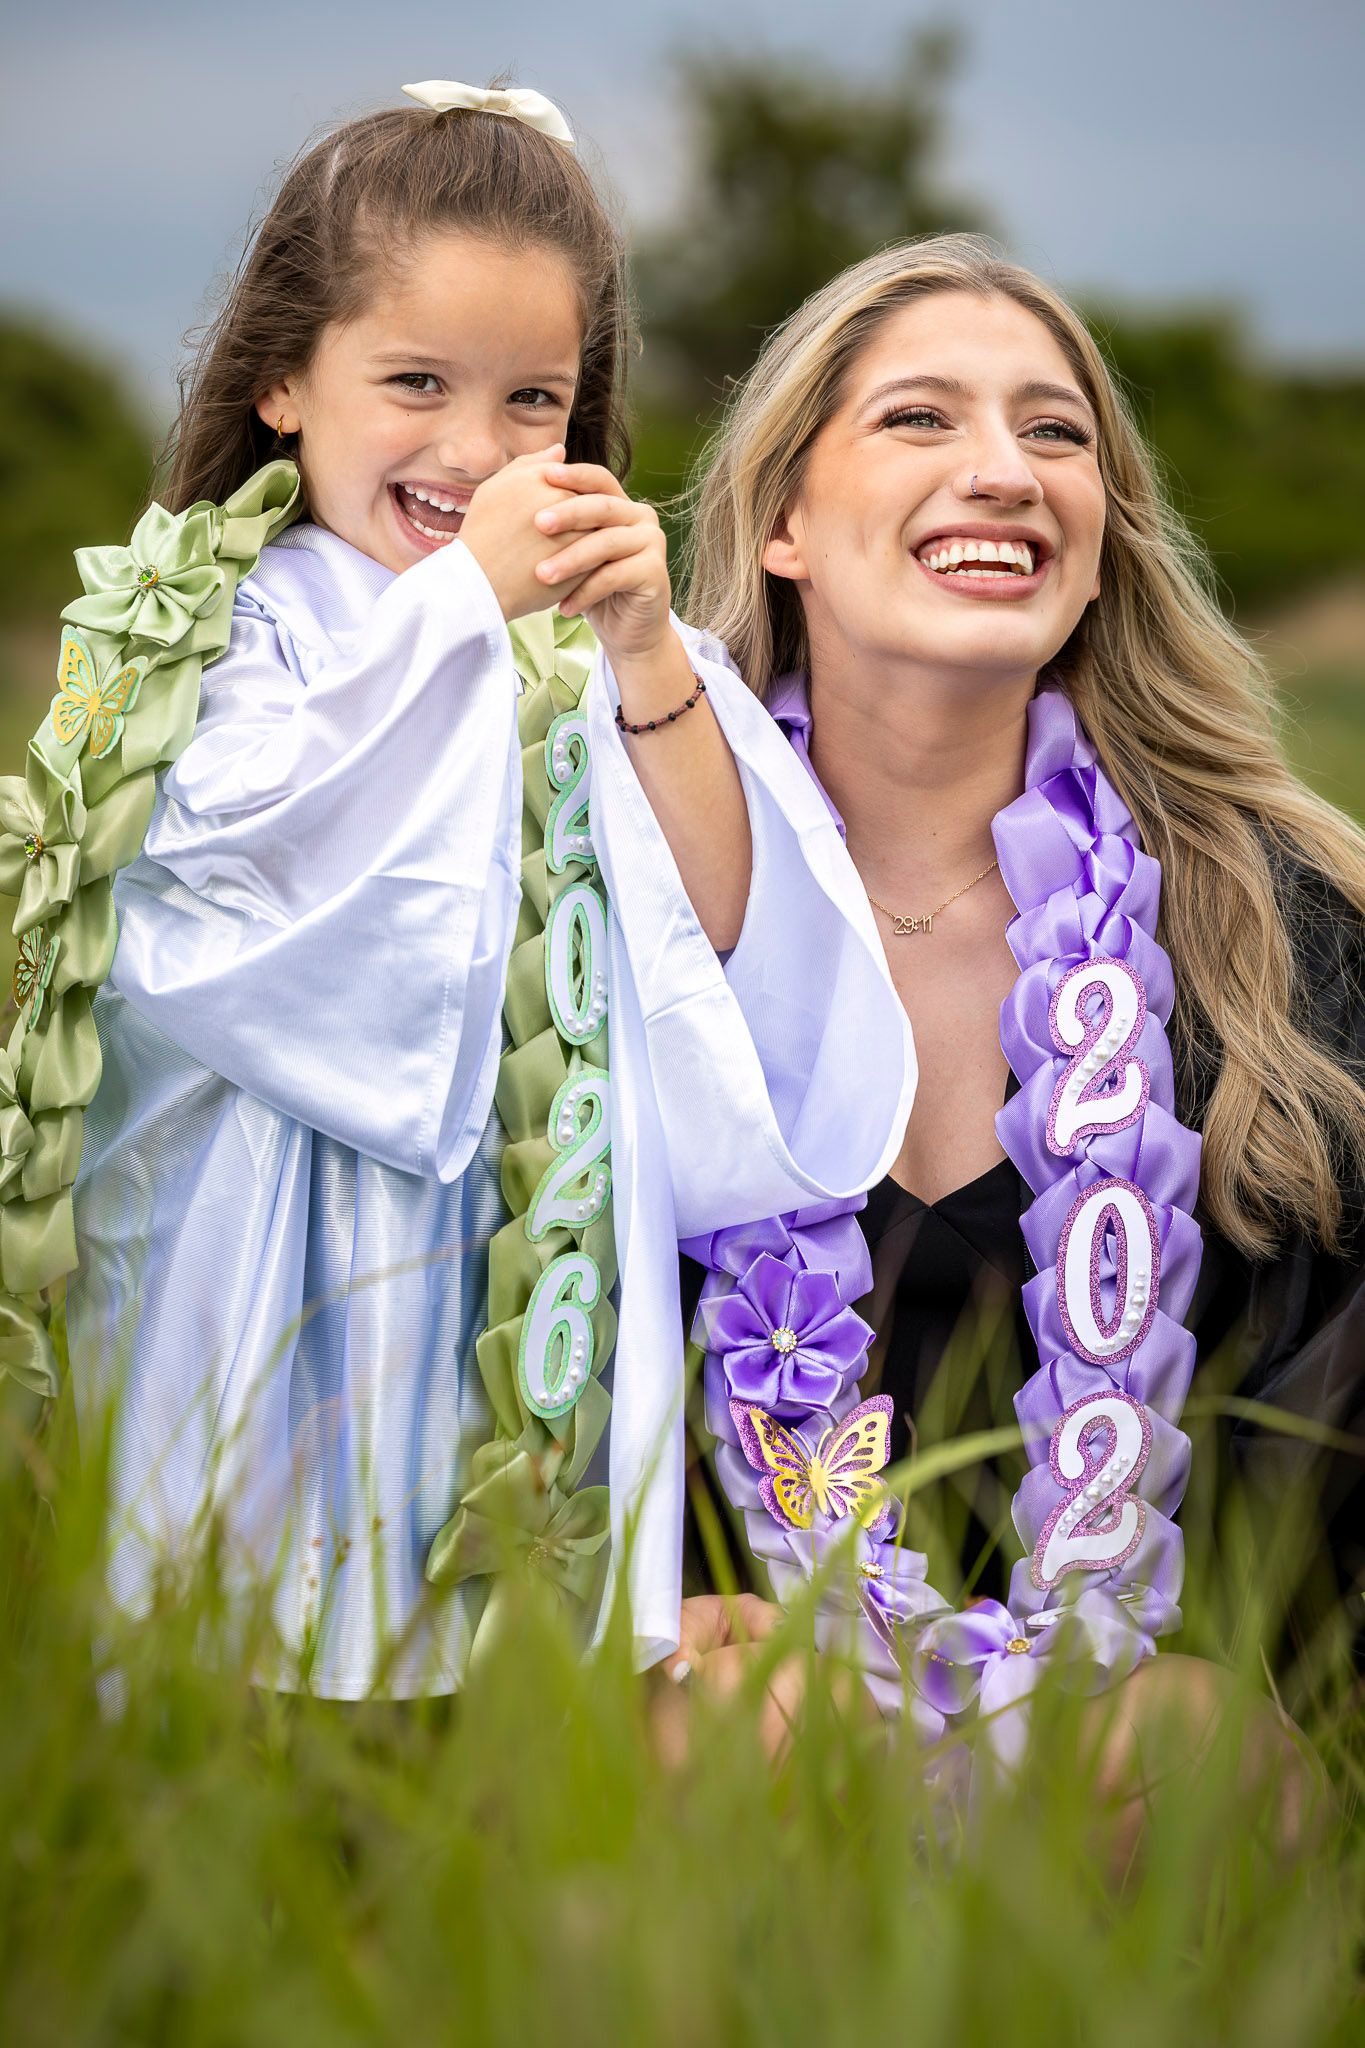
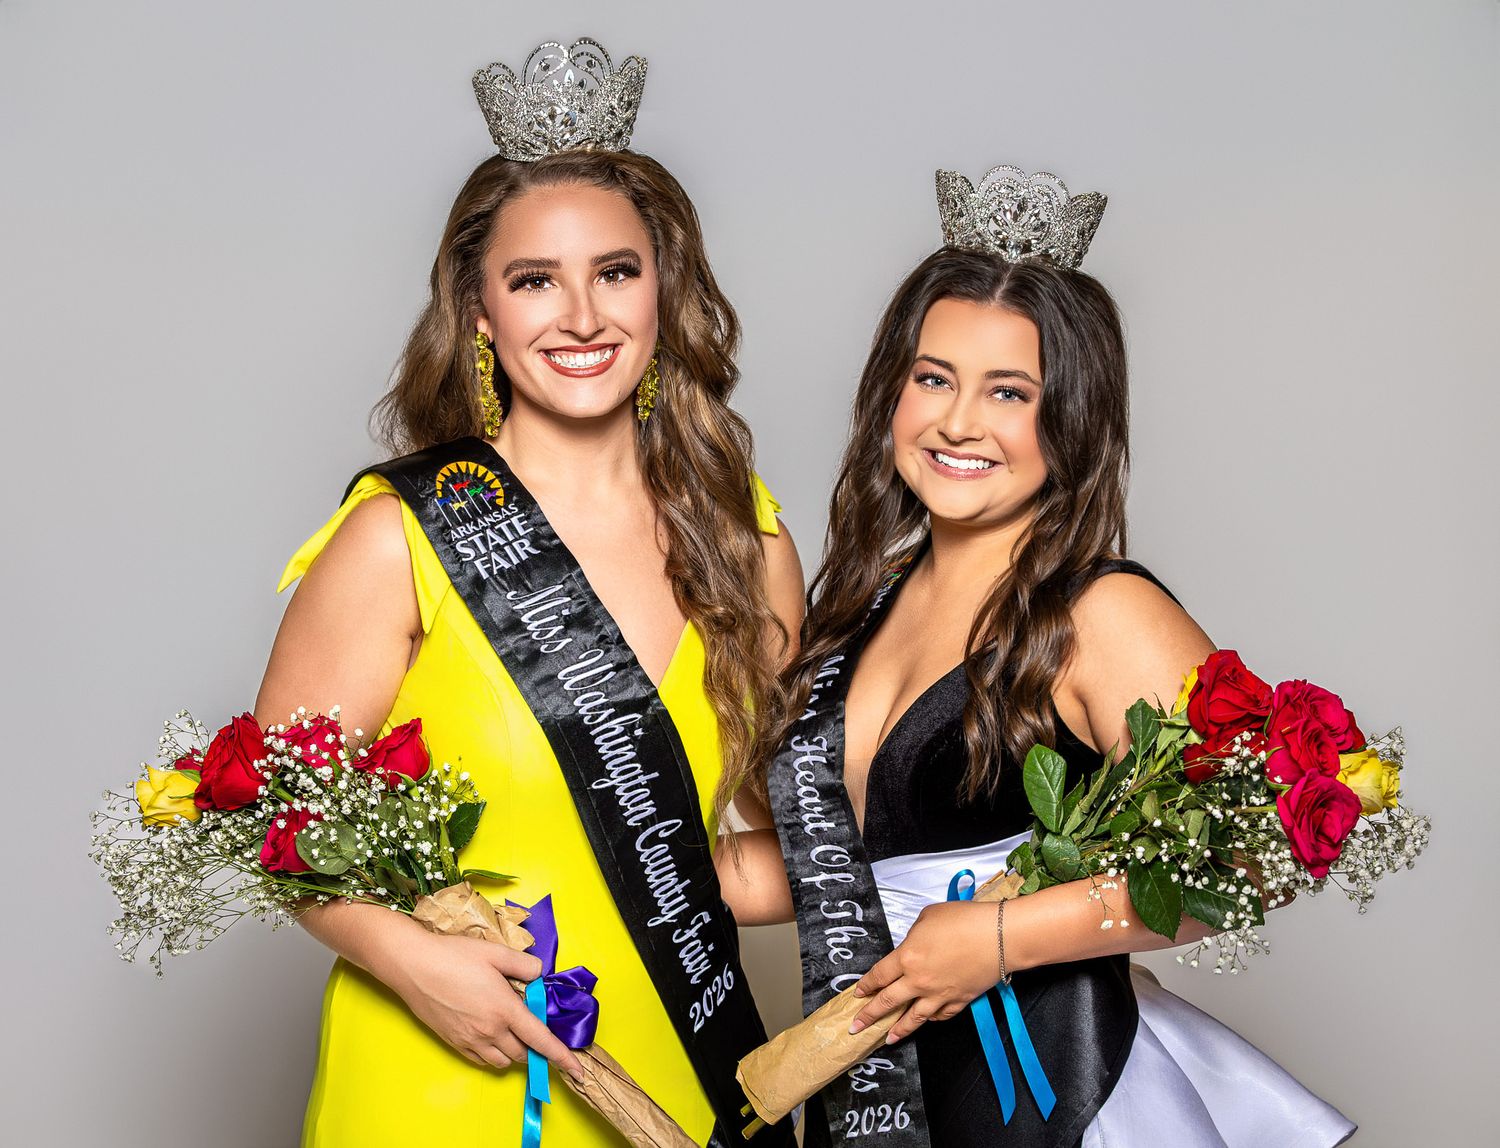
Off-camera flash photography is one of the most powerful tools a portrait photographer can learn. Unlike traditional flash, which is mounted directly on your camera, off-camera flash gives you the ability to shape, direct, and control your lighting from any angle. Whether you're shooting portraits, action shots, or creative setups in Arkansas or beyond, mastering this technique will immediately elevate your work.
Why Use Off-Camera Flash for Portraits?
Lighting is one of the most powerful tools in portrait photography. While natural light can be beautiful, it’s not always reliable (overcast days, rainy weather, heat index, etc.). That’s where off-camera flash photography comes in. Whether you’re shooting portraits, events, or creative setups, off-camera flash gives you more control over light placement and intensity.
As someone who recently made the jump from natural light and on-camera flash to off-camera flash, I want to share what it’s really like.
My First Off-Camera Flash Setup (Beginner Gear List)
- Speedlight (Godox TT350C)
- Wireless trigger (Godox X2T)
- Monopod or telescopic handle
- Light stand
- A weight to keep your light stand from tipping over.
- Softbox (or any modifier) for light diffusion
Common Challenges for Beginners (And How to Fix Them)
1. Syncing the Flash and Trigger
This is the most important. Without this step, you can't even begin to use OCF. Getting your flash to actually fire off-camera can be tricky for beginners. It took me a while to ensure both the flash and trigger were on the same channel, I was within range of the strobe/flash, and that all settings (manual vs TTL) were correct.
quick tip: Try to have these synced before your shoot save time.
2. Light Placement Confusion
You’ve probably heard that 45-degree lighting is a good starting point, but every subject, scene, and modifier changes the game. My early results had weird shadows and uneven light until I learned to tweak positioning, distance, and height.
quick tip: Every inch counts. If you're not satisfied with the results, try moving the light a few inches forward or backwards.
3. Balancing Ambient and Flash Exposure
Here’s where the real challenge kicked in: understanding how to balance natural light with artificial light. This meant learning how to control ISO, shutter speed, aperture, and flash power to create the look I wanted.
quick tip: Know what type of mood you are wanting to capture before each session. This will help you get a feel for what settings you'll be using.
4. Setup Time and Portability
Unlike a quick run-and-gun shoot with natural light, off-camera flash requires more setup time and physical gear. It’s worth it, but expect a slower workflow at first.
quick tip: If possible, please bring an assistant to help you alleviate the setup/breakdown time, move/hold equipment, assist with positioning the lighting.
Off-Camera Flash Camera Settings Example
I was at 1/200 (1/250 for some) - the fastest basic strobes will allow without HSS.
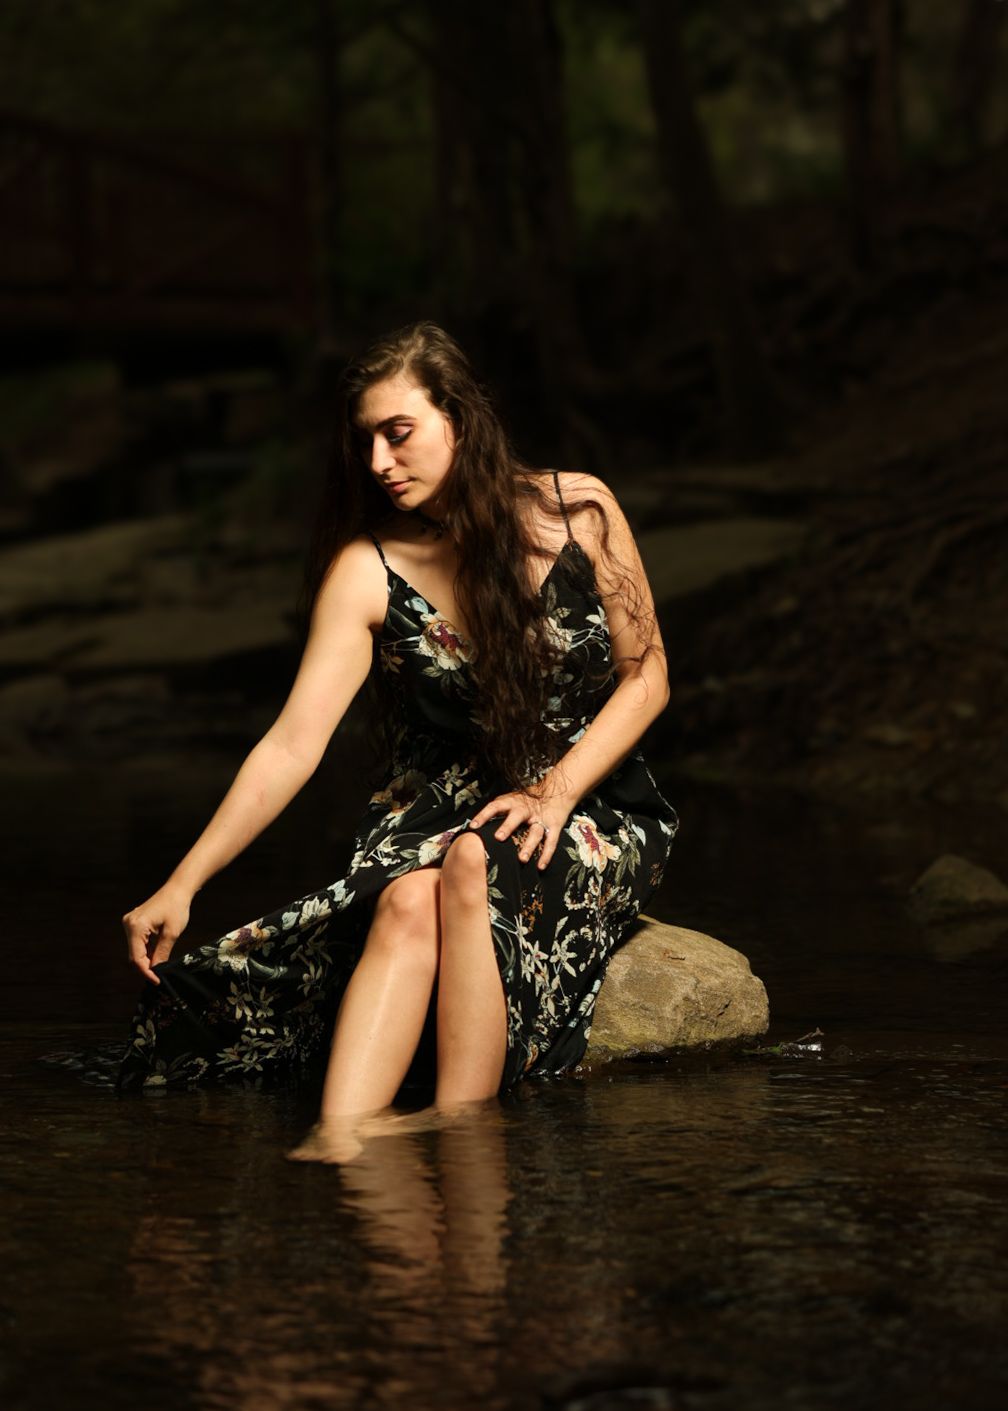
why this matters: I wanted a darker ambient, as opposed to a brighter one. The higher your shutter speed the darker your scene will be. This will also cut out any motion blur.
F/2.8, for the creamy bokeh for portraits
why this matters: I wanted a shallow depth of field; meaning I have an intensely blurred background. If you prefer everything more in focus, try f/5.6 and beyond.
ISO L or (50 depending on your camera brand) since I wanted those dark and dreamy portraits.
why this matters: This is your cameras sensitivity to light. I wanted to cut out as much light and grain as possible, hence I have the lowest setting possible. Please check your cameras hidden menu to enable this setting. Google is your best friend for this one.
Benefits of Off-Camera Flash
1. Full Creative Control Over Lighting
One of the biggest pros of off-camera flash is the ability to shape and control your light. Want dramatic shadows? Soft even light? Rim lighting? You can do it all, any time of day.
2. Consistent, Professional Results
With the right setup and a bit of practice, off-camera flash helps deliver polished, high-end images that look far more professional than flat natural light or harsh on-camera flash.
3. Versatility in Any Lighting Condition
No more stressing about overcast skies or dark indoor venues. With off-camera flash, I can shoot confidently in any lighting scenario—from harsh midday sun to pitch-black rooms.
Drawbacks to Consider
1. Steep Learning Curve
If you’re new to flash photography, expect some trial and error. The results are worth it, but be prepared to experiment and study basic lighting principles.
2. More Equipment to Carry
Light stands, modifiers, extra batteries, and triggers all add weight and complexity. This can be inconvenient for travel or minimalist shoots.
Final Thoughts: Is Off-Camera Flash Worth It?
Yes—off-camera flash is worth learning. Despite the early struggles, the creative freedom and image quality are game-changers. If you’re just starting out:
• Practice at home before using it with clients. I watched tons of Youtube videos
• Start with one light and master it before adding more
• Don’t get discouraged by bad shots—they’re part of the learning curve
Whether you’re a portrait photographer, wedding shooter, or hobbyist, off-camera flash can elevate your work dramatically in ways on-camera flash simply can’t.